Burgundy Gold-Striped Ear Warmer Free Crochet Pattern
Introduction
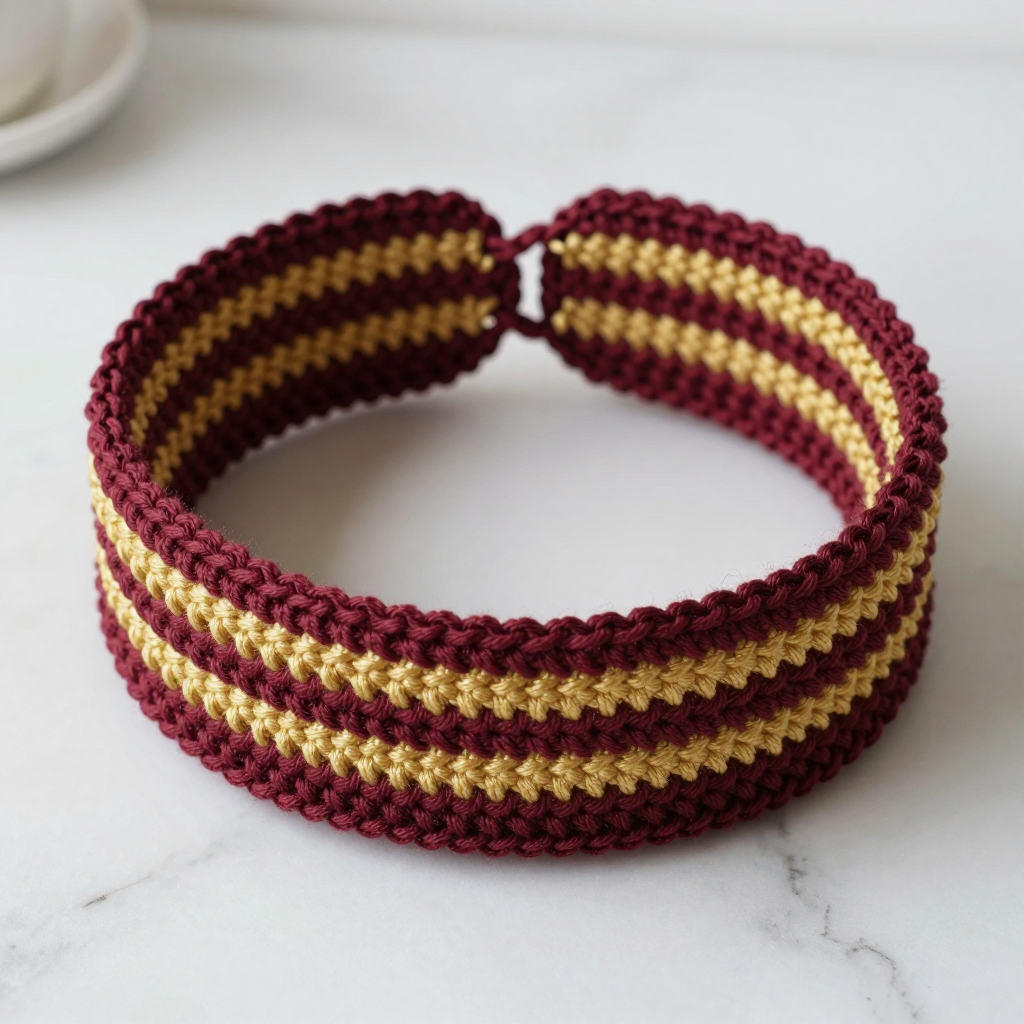
This burgundy and gold striped ear warmer is the perfect first project for anyone who wants something cozy, quick, and genuinely wearable. It's worked as a simple narrow tube of single crochet, so you only need to know one stitch and how to join a round. The warm burgundy and shimmering gold stripes give it a rich, cottagecore feel that looks lovely with a winter coat or a chunky sweater. Because the tube is twisted once before seaming, it sits comfortably around your head with a stylish mobius twist at the front. Soft, dense, and warm over the ears, it works up in just a few evenings.
Materials Needed
- Yarn: Worsted weight (Category 4) acrylic or wool blend — 80 yards burgundy (Color A) and 40 yards gold (Color B)
- Hook: 5.0 mm (H-8) crochet hook
- Notions: Tapestry needle for seaming and weaving in ends, scissors, stitch marker (optional, to mark the first stitch of each round)
- Finished size: Approximately 20 inches circumference (unstretched) and 3 inches wide, to fit most adult heads
Abbreviations
- ch — chain: make a loop of yarn and pull it through the loop on your hook.
- sc — single crochet: insert hook into stitch, yarn over, pull up a loop, yarn over, pull through both loops.
- sl st — slip stitch: insert hook into stitch, yarn over, pull through both the stitch and the loop on your hook.
- st(s) — stitch(es)
- A / B — Color A (burgundy) / Color B (gold)
Gauge
14 single crochet stitches and 16 rows = 4 inches. To check, crochet a small flat swatch of single crochet and measure a 4-inch section; adjust your hook size if you have more or fewer stitches than 14 per 4 inches.
Tips Before You Start
- Change colors neatly: Work the final yarn over of the last stitch of a stripe with the new color so the color change happens cleanly at the join.
- Keep the tube flat: This band is only 10 stitches around, so it naturally forms a narrow, flat strip. Don't stuff or stretch it as you go.
- Count your rounds: There are 80 rounds total, in 4-round stripes. A stitch marker at the start of each round keeps your stripe counts accurate.
- Don't cut tails too short: Leave a generous tail at the end for the whipstitch seam.
Step-by-Step Instructions
Striped Tube (worked in rounds)
With Color A, ch 11.
Rnd 1: sc in 2nd ch from hook and in each ch across, join with sl st to first sc to form a ring (10 sts).
Rnds 2-4: ch 1, sc in each st around, join (10 sts).
Change to Color B.
Rnds 5-8: ch 1, sc in each st around, join (10 sts).
Change to Color A.
Rnds 9-12: ch 1, sc in each st around, join (10 sts).
Change to Color B.
Rnds 13-16: ch 1, sc in each st around, join (10 sts).
Change to Color A.
Rnds 17-20: ch 1, sc in each st around, join (10 sts).
Change to Color B.
Rnds 21-24: ch 1, sc in each st around, join (10 sts).
Change to Color A.
Rnds 25-28: ch 1, sc in each st around, join (10 sts).
Change to Color B.
Rnds 29-32: ch 1, sc in each st around, join (10 sts).
Change to Color A.
Rnds 33-36: ch 1, sc in each st around, join (10 sts).
Change to Color B.
Rnds 37-40: ch 1, sc in each st around, join (10 sts).
Change to Color A.
Rnds 41-44: ch 1, sc in each st around, join (10 sts).
Change to Color B.
Rnds 45-48: ch 1, sc in each st around, join (10 sts).
Change to Color A.
Rnds 49-52: ch 1, sc in each st around, join (10 sts).
Change to Color B.
Rnds 53-56: ch 1, sc in each st around, join (10 sts).
Change to Color A.
Rnds 57-60: ch 1, sc in each st around, join (10 sts).
Change to Color B.
Rnds 61-64: ch 1, sc in each st around, join (10 sts).
Change to Color A.
Rnds 65-68: ch 1, sc in each st around, join (10 sts).
Change to Color B.
Rnds 69-72: ch 1, sc in each st around, join (10 sts).
Change to Color A.
Rnds 73-76: ch 1, sc in each st around, join (10 sts).
Change to Color B.
Rnds 77-80: ch 1, sc in each st around, join (10 sts).
Fasten off, leaving a long tail for seaming.
Assembly and Finishing
Lay the tube flat and bring the two short ends together, giving one end a single half twist so the band forms a mobius. Using the long tail and a tapestry needle, whipstitch the two edges together all the way around, working through both thicknesses. Weave in all remaining ends on the wrong side of the band. Lightly steam or wet block the ear warmer, shaping it to its finished 20-inch circumference and 3-inch width, then let it dry completely.
Pro Tips and Variations
- Make it wider: Start with a longer beginning chain (for example, ch 15) to create a wider band that covers more of the ears.
- Change the palette: Swap burgundy and gold for any two contrasting colors, or use a single color for a minimalist look.
- Add texture: Work the rounds in half double crochet instead of single crochet for a softer, drapier band — just adjust your round count to keep the finished length the same.


