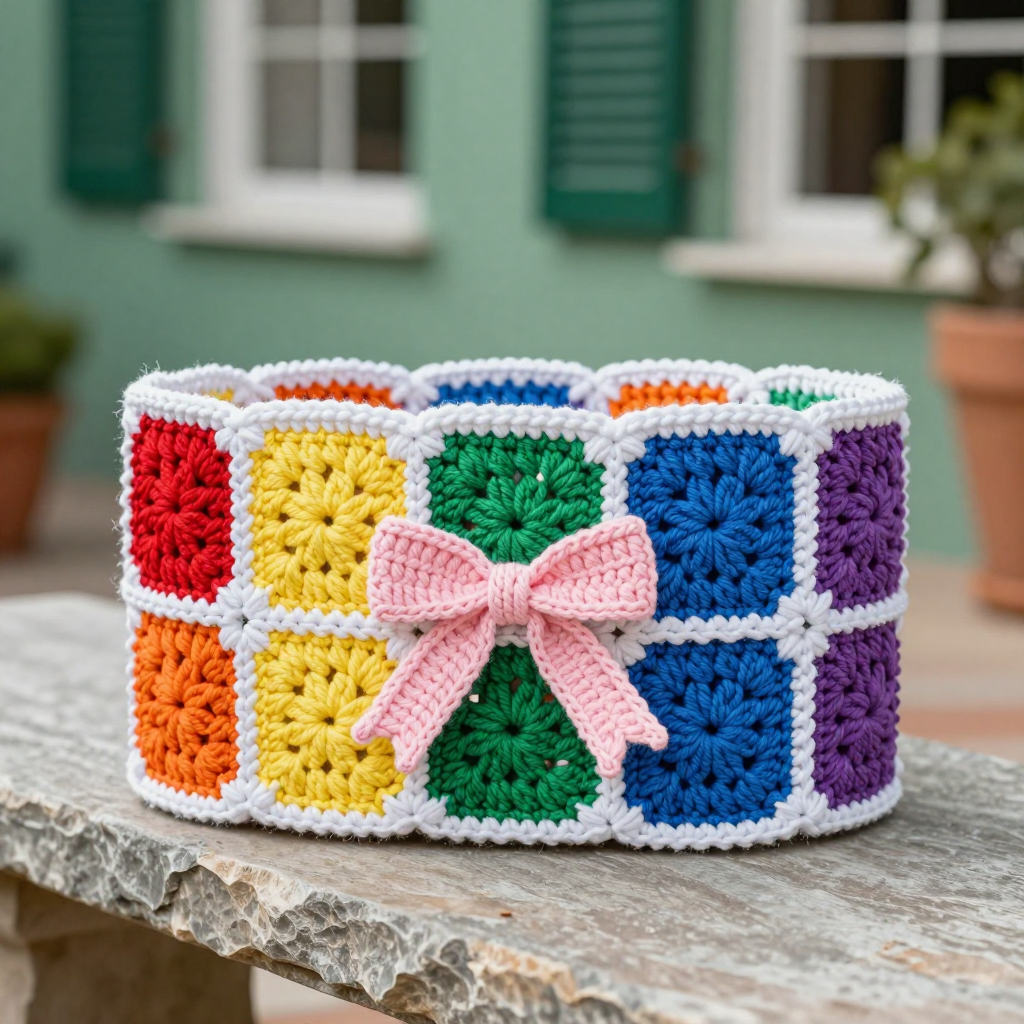
Popcorn Motif Crossbody Bag Free Crochet Pattern

Introduction
This popcorn motif crossbody bag is a sweet, beginner-friendly project that turns nine little popcorn-stitch squares into a flat, open-topped bag with a long, straight strap. It's perfect for anyone who has mastered double crochet and wants to try a fun textured stitch without committing to a big project. Worked in recycled worsted cotton in a pastel candy colorway, it has a cheerful mid-century modern look that feels light, crisp, and slightly structured. The raised popcorn stitches give each square a lovely bumpy texture, while the simple single crochet edging and strap keep the whole thing clean and wearable.
Materials Needed
- Yarn: Worsted weight (category 4) recycled cotton, approx. 200 yd total:
- Color A (pale pink): 80 yd
- Color B (mint): 60 yd
- Color C (butter yellow): 60 yd
- Hook: 4.0 mm (US G-6)
- Notions: Tapestry needle, scissors, stitch marker (optional), rust-proof pins for blocking
- Finished size: Bag body 10.5" wide x 10.5" tall (26.5 cm x 26.5 cm); strap length 44" (112 cm)
Abbreviations
- ch – chain
- sl st – slip stitch
- sc – single crochet
- dc – double crochet
- sp – space
- st(s) – stitch(es)
- beg – beginning
- RS / WS – right side / wrong side
- popcorn – a textured stitch made of 5 dc worked in the same stitch and pulled together (see note below)
Gauge
One square measures 3.5" x 3.5" (9 cm x 9 cm) after blocking. To check, work one square and block it lightly, then measure across the center; adjust your hook size if needed.
Tips Before You Start
- Keep your popcorn stitches snug — pulling the loop tight after the ch 1 keeps the bumps neat and even.
- Work all nine squares first and block them to the same size so your 3x3 grid lines up perfectly.
- When joining, work through the back loops only to get the flat, visible seam lines that give this bag its clean look.
- Leave generous yarn tails on each square for joining, or use a separate length of Color A for seaming.
Step-by-Step Instructions
Square (make 9: 3 each in A, B, and C)
With the first color, ch 4, join with sl st to form a ring.
R1: Ch 3 (counts as dc), 2 dc in ring, [ch 2, 3 dc in ring] 3 times, ch 2, join with sl st to top of beg ch-3. (12 dc, 4 ch-2 sps)
R2: Ch 3, dc in same st, popcorn in next st, dc in next st, [dc, ch 2, dc] in next ch-2 sp, dc in next st, popcorn in next st, dc in next st, [dc, ch 2, dc] in next ch-2 sp, dc in next st, popcorn in next st, dc in next st, [dc, ch 2, dc] in next ch-2 sp, dc in next st, popcorn in next st, dc in next st, [dc, ch 2, dc] in next ch-2 sp, join with sl st to top of beg ch-3. (20 dc, 4 popcorn, 4 ch-2 sps)
R3: Ch 3, dc in each st around, working [dc, ch 2, dc] in each ch-2 sp. Join with sl st to top of beg ch-3. (36 dc, 4 ch-2 sps)
Fasten off.
Popcorn note: Work 5 dc in the same st, remove hook from loop, insert hook in the first dc of the 5-dc group, pull the loop through, ch 1 to secure.
Assembly
Arrange the nine squares in a 3x3 grid, alternating colors as desired. With RS facing, join squares using sl st through both loops, working through back loops only for a flat seam. Join all vertical seams first, then horizontal seams.
Edging
With A, join yarn at any corner.
R1: Ch 1, sc evenly around the entire perimeter, working 3 sc in each corner. Join with sl st to first sc. (Approx. 120 sc)
R2: Ch 1, sc in each sc around, working 3 sc in each corner. Join with sl st to first sc. Fasten off.
Strap
With A, ch 4.
Row 1: Sc in 2nd ch from hook and in each ch across. (3 sc)
Row 2: Ch 1, turn, sc in each sc across. (3 sc)
Rows 3–end: Repeat Row 2 until the strap measures 44" (112 cm). Fasten off.
Assembly and Finishing
Pin the bag to the finished measurements and block lightly, misting with water and letting it dry fully. Sew the strap ends securely to the top corners of the bag on the WS, checking that the strap isn't twisted. Weave in all ends neatly on the WS, then give the bag a final light press or steam to settle the seams.
Pro Tips and Variations
- Add a simple button and loop closure at the top center for a little extra security.
- Swap the color arrangement for a diagonal or checkerboard effect by changing which colors sit next to each other.
- Make the strap wider (ch 6 instead of 4) for a more comfortable, sturdier crossbody fit.