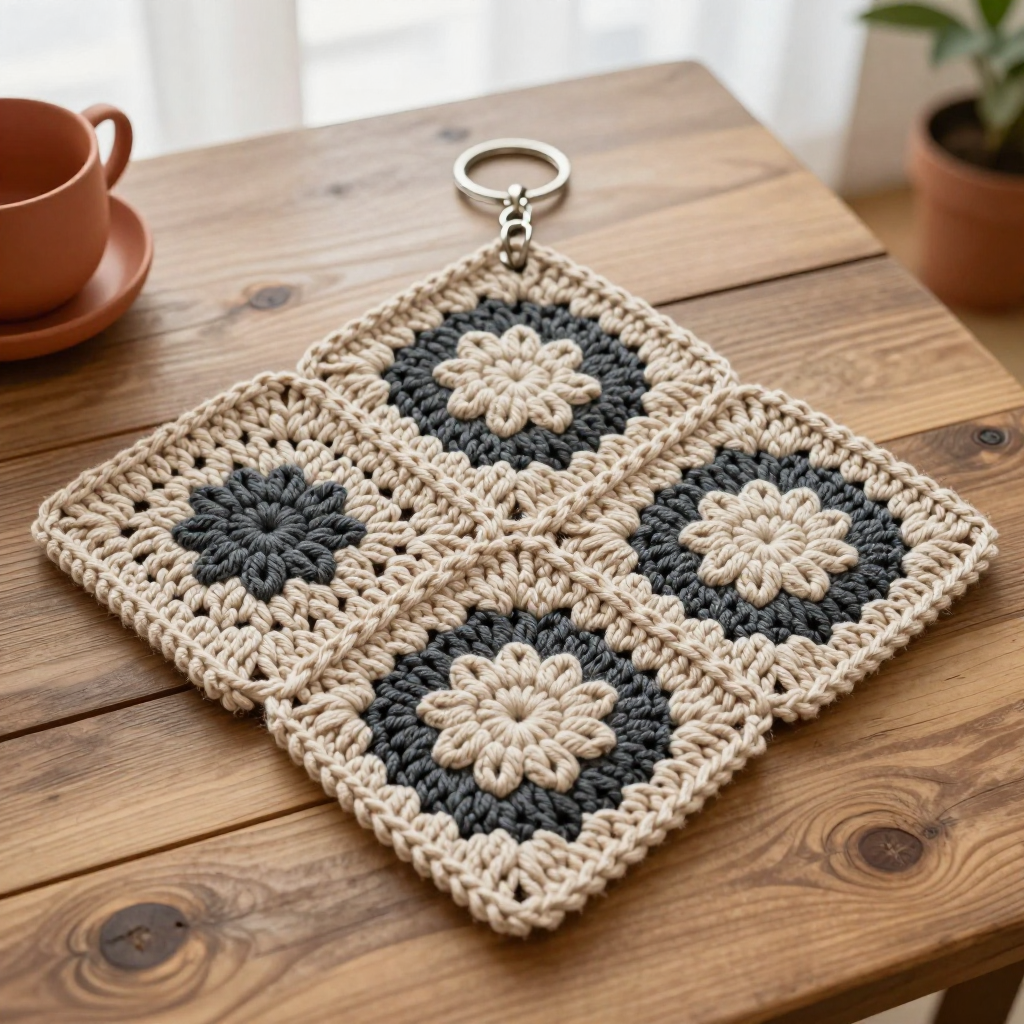
Double Circle Keychain Free Crochet Pattern

Introduction
This double circle keychain is a quick, cheerful little project that's perfect for absolute beginners who want to finish something satisfying in under an hour. It's made from two flat crocheted circles — one in emerald, one in blush — joined back-to-back with a soft single crochet border and a light stuffing so it feels slightly puffed and squishy in your hand. The modern two-tone look makes it a lovely handmade gift, a bag charm, or a sweet little accessory for your own keys. If you can make a magic ring and a single crochet, you can make this keychain.
Materials Needed
- Yarn: (4) Medium Weight/Worsted Weight acrylic yarn — about 10 yards of emerald and about 10 yards of blush
- Hook: 5 mm (H/8) crochet hook
- Notions: Stitch marker, yarn needle, scissors, a small amount of polyester fiberfill for stuffing, and a metal key ring
- Finished size: Approximately 2.5 inches in diameter per circle, with a total length of about 3 inches including the ring
Abbreviations
- MR — magic ring: an adjustable loop you crochet your first stitches into
- sc — single crochet
- inc — increase: work 2 single crochet into the same stitch
- ch — chain
- sl st — slip stitch
- sts — stitches
- WS — wrong side (the back face of the fabric)
Gauge
Gauge is not important for this project, but each circle should measure about 2.5 inches in diameter after Round 5 — if yours is noticeably smaller or larger, go up or down one hook size to match.
Tips Before You Start
- Use a stitch marker in the first stitch of each round so you always know where the spiral begins and ends.
- Keep your tension relaxed and even; tight stitches make the circles cup instead of lying flat.
- Don't stuff the joined circles too firmly — a light stuffing keeps the keychain flat and neat.
- Leave a generous yarn tail on Circle A so you have plenty to weave in securely later.
Step-by-Step Instructions
Circle A (Emerald)
Rnd 1: Make a magic ring, work 6 sc into the ring (6 sts).
Rnd 2: inc in each st around (12 sts).
Rnd 3: [sc, inc] x6 (18 sts).
Rnd 4: [2 sc, inc] x6 (24 sts).
Rnd 5: [3 sc, inc] x6 (30 sts).
Fasten off and weave in the starting tail.
Circle B (Blush)
Rnds 1-5: Work the same as Circle A (30 sts). Do not fasten off — you will use this working yarn for the joining round.
Joining the Circles
Hold the two circles with wrong sides together, emerald facing out on one side and blush on the other, matching the stitch counts around the edge.
Joining Rnd: With the blush yarn from Circle B, sc through both layers around the outer edge, working one sc into each pair of matching stitches, until you have about a 1-inch opening left.
Stuff the keychain lightly with fiberfill through the opening.
Joining Rnd (continued): Continue sc through both layers to close the opening completely, then sl st to the first sc of the joining round. Fasten off.
Hanging Loop
Loop: Attach blush yarn to the top edge of the joined circles, ch 10, then sl st to the same stitch to form a loop. Fasten off.
Assembly and Finishing
Weave in all remaining ends on the wrong side of the keychain, working each tail through several stitches so it stays secure. Slip the metal key ring onto the chain loop. Gently shape the circles with your fingers so the edges lie flat and the stuffing is evenly distributed. If you like, lightly steam or mist and pat the keychain flat, then let it dry completely before use.
Pro Tips and Variations
- Swap the colors for a two-tone look that matches a favorite bag, or make one circle striped for extra texture.
- Add a tiny embroidered heart or a few surface slip stitches to one face for a personal touch.
- Make a set in different color pairs and attach them to a split ring as a small gift bundle.