Granny Square Blossom Trio Charm Free Crochet Pattern
Introduction
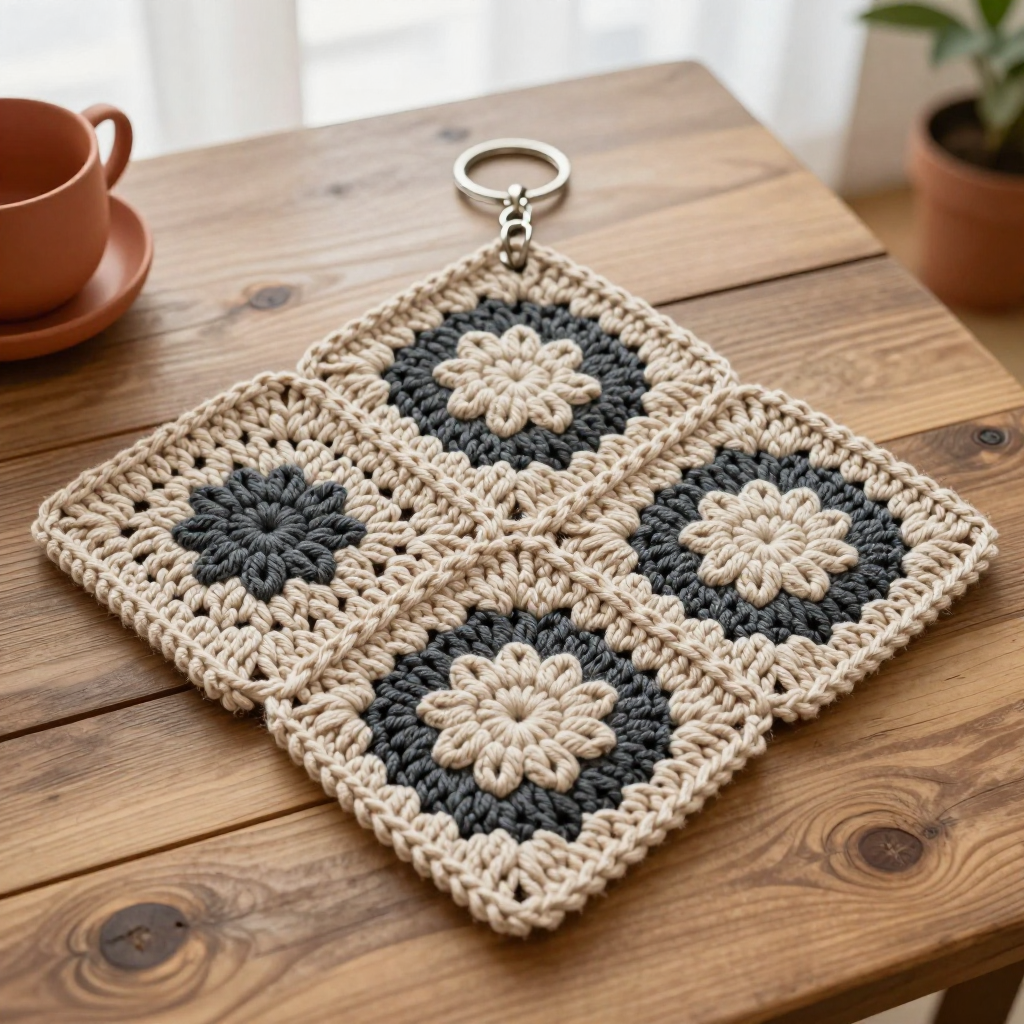
This little charm is proof that good things come in small packages. The Granny Square Blossom Trio Charm is a beginner-friendly crochet keychain made from three solid granny squares, each with a tiny embroidered cherry blossom at its center. Worked in super bulky yarn, the squares stitch up quickly and feel dense, squishy, and satisfying in the hand. The alternating oatmeal and charcoal palette gives it a clean, mid-century modern look that dresses up a tote bag, keys, or zipper pull. If you can double crochet and sew a simple stitch, you can make this charm today.
Materials Needed
- Yarn: Super bulky (weight 6) yarn, acrylic or cotton blend. Oatmeal (A): 10 yds. Charcoal (B): 10 yds.
- Hook: 6.0 mm (J-10) crochet hook
- Notions: Tapestry needle, scissors, keyring (about 1 inch / 2.5 cm), stitch marker (optional)
- Finished size: Each square is 2.5 inches (6.35 cm) square. The joined charm measures 2.5 inches wide x 7.5 inches long (6.35 x 19 cm).
Abbreviations
- ch – chain: make a loop of yarn on the hook.
- sc – single crochet: insert hook, pull up a loop, yarn over, pull through both loops.
- dc – double crochet: yarn over, insert hook, pull up a loop, yarn over and pull through two loops twice.
- sl st – slip stitch: insert hook, yarn over, pull through all loops on the hook.
- sp – space: the gap made by a chain (here, a ch-2 space).
- MR – magic ring: an adjustable loop used to start in the round.
- rep – repeat: work the instructions again.
Gauge
4 dc = 2 inches (5 cm) and 2 rows = 1 inch (2.5 cm). Work a small swatch of double crochet and measure it flat; if your stitches are larger than this, go down a hook size so each square finishes at 2.5 inches.
Tips Before You Start
- Keep your tension even and snug. Super bulky yarn can stretch, and a dense square holds its shape better as a charm.
- Count your stitches at the end of each round. Each round should end with the stitch count listed, which keeps the square flat and square.
- Leave a 6-inch tail on every fastening-off so you have plenty of yarn for whipstitching and weaving in.
- Embroider the blossoms after all three squares are finished, before joining, so the squares lie flat while you stitch.
Step-by-Step Instructions
Square 1 (Color A – Oatmeal)
Set-up: Make a magic ring (MR).
Rnd 1: 6 sc in the ring, join with sl st to first sc (6 sc).
Rnd 2: Ch 3 (counts as first dc), 2 dc in the ring, [ch 2, 3 dc in the ring] x3, ch 2, join with sl st to top of ch 3 (12 dc, 4 ch-2 sps).
Rnd 3: Ch 3, 2 dc in the same ch-2 sp, ch 2, 3 dc in the same sp, *[3 dc, ch 2, 3 dc] in the next ch-2 sp; rep from * around, join (24 dc, 4 ch-2 sps).
Rnd 4: Ch 3, dc in each dc around, [3 dc, ch 2, 3 dc] in each ch-2 sp, join (48 dc, 4 ch-2 sps). Fasten off.
Square 2 (Color B – Charcoal)
Work exactly as Square 1, using Color B. Fasten off.
Square 3 (Color A – Oatmeal)
Work exactly as Square 1, using Color A. Fasten off.
Cherry Blossom Centers (one per square)
Embroider a 5-petal flower in the center of each square, using the contrast color: Color B on the oatmeal squares, and Color A on the charcoal square.
Petals: With the tapestry needle, work 5 satin-stitch petals radiating from the center point of the square, spacing them evenly like a flower.
Center: Work one French knot in the middle of the petals to finish the blossom.
Assembly and Finishing
Joining: Lay the squares in a single row in this order: Square 1 (A), Square 2 (B), Square 3 (A). Whipstitch the edges together with matching yarn, working along the full edge of each pair so the strip measures 2.5 inches wide x 7.5 inches long.
Keyring: Attach the keyring to the top edge of the first square with a lark's head knot, or make a small crochet loop and slip it through the ring.
Weaving in ends: Thread each tail onto the tapestry needle and weave it through the back of the work, changing direction once so it stays secure. Trim close to the fabric.
Blocking: Lightly mist the finished charm and pin each square to a 2.5-inch square shape. Let it dry fully so the corners stay crisp.
Pro Tips and Variations
- Swap the palette: try sage and cream, or blush and rust, for a different mid-century mood.
- Make the blossoms pop by using a smooth cotton for the embroidery even if the squares are acrylic.
- Turn the trio into a longer bag charm by adding a fourth square, or make just one square as a tiny single-blossom keychain.