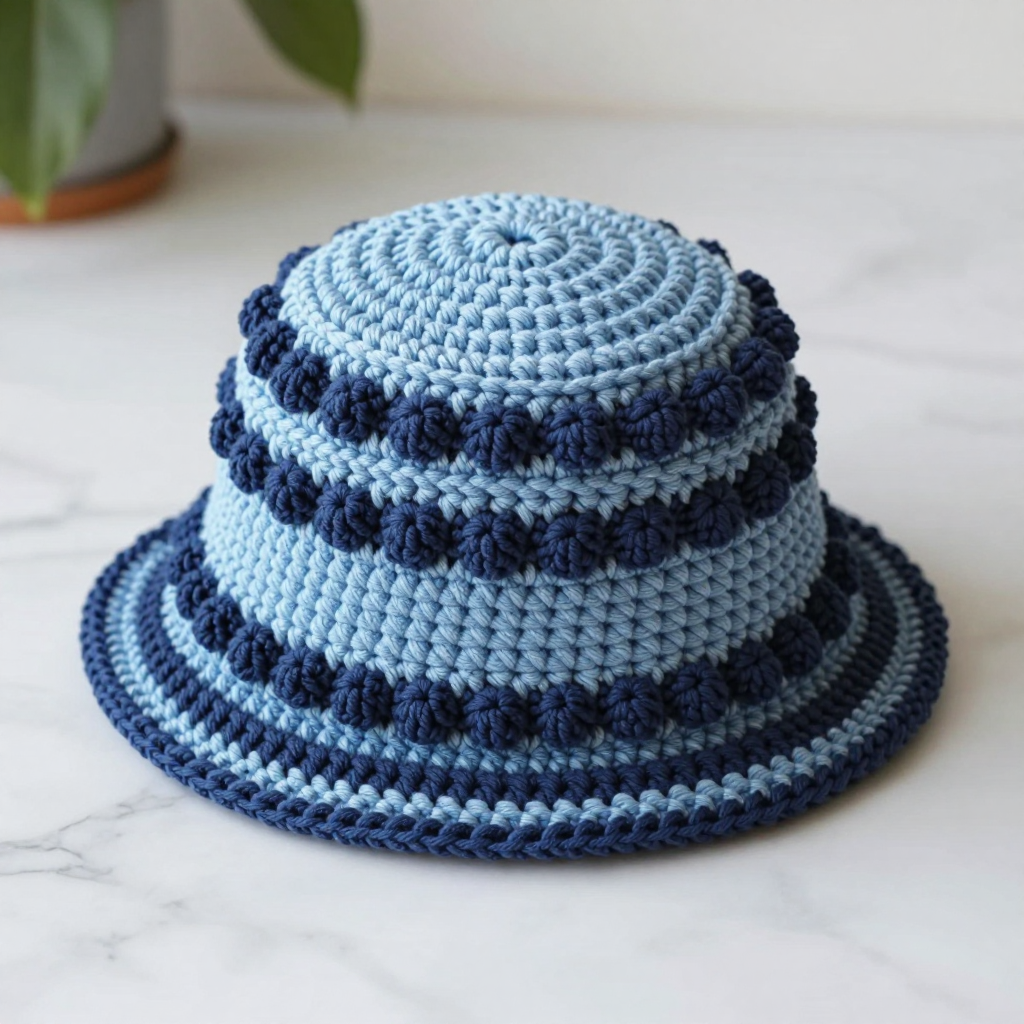
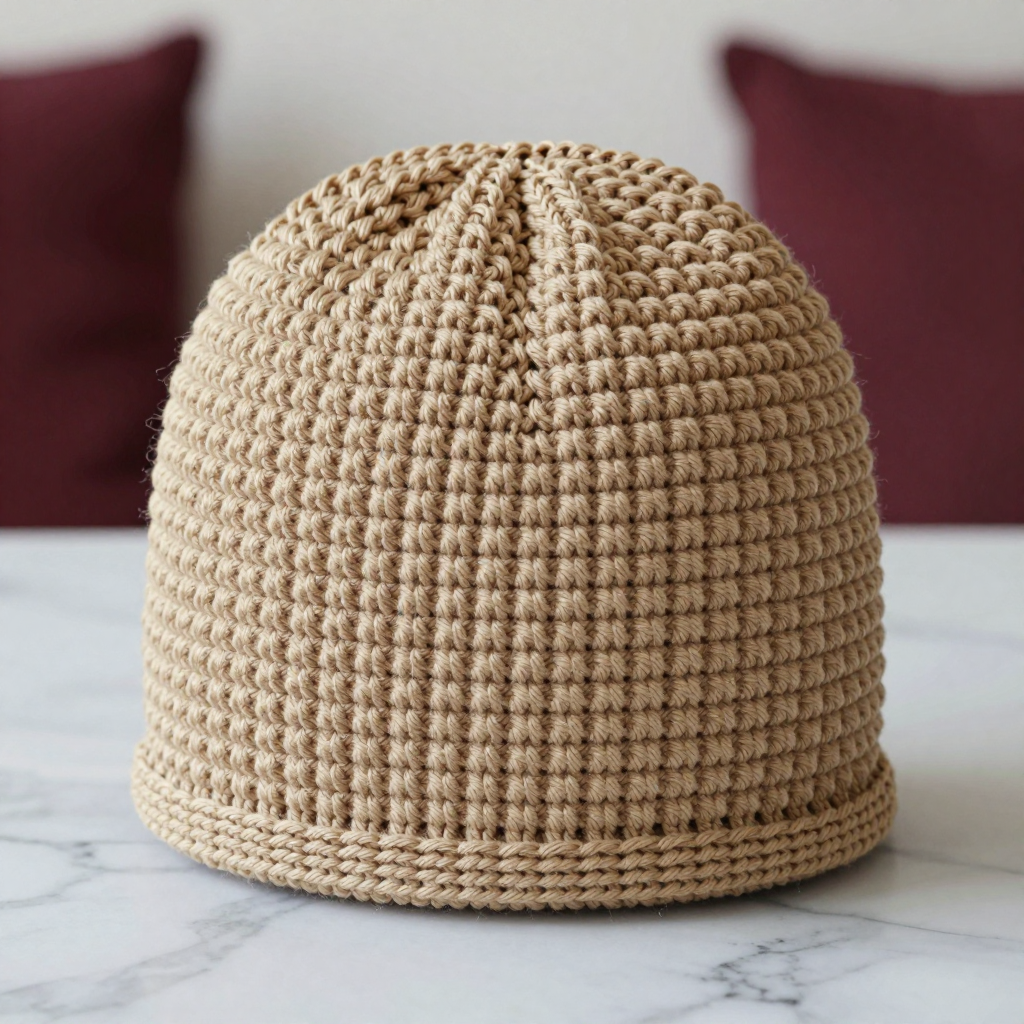
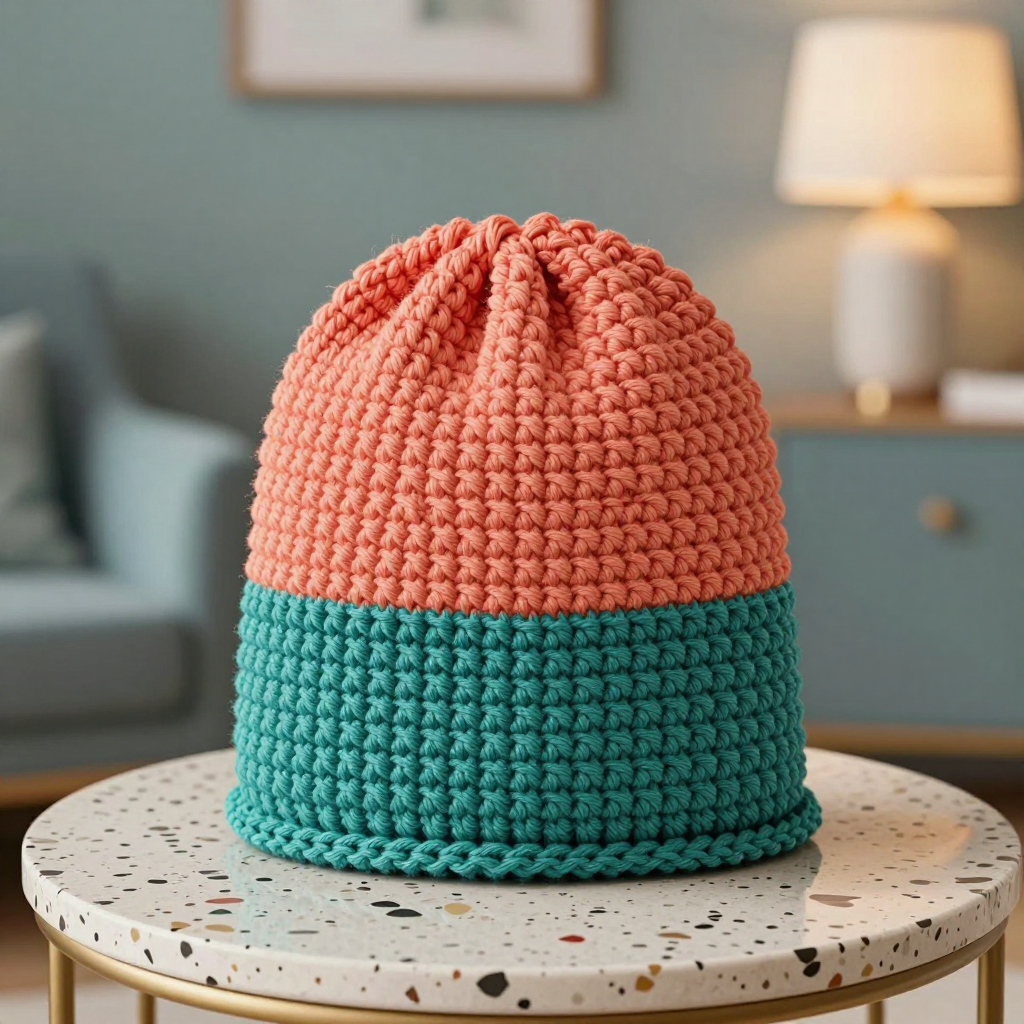
Parisian Striped Ponytail Beanie: Free Crochet Pattern

Introduction
The Parisian Striped Ponytail Beanie is a classic navy-and-cream Breton striped hat with a clever little secret: a ponytail opening near the crown so your hair can flow free while the hat stays snug. It is worked almost entirely in simple single crochet, which makes it a wonderful project for beginners who want a polished, wearable result without complicated stitches. The ribbed navy brim hugs the head, the two-round stripes give it that timeless French-stripe look, and the gathered flat top keeps the silhouette clean and modern. It looks chic with a coat and jeans, and it feels soft, warm, and comfortable for everyday wear.
Materials Needed
- Yarn: Worsted weight (4) yarn, acrylic or cotton blend, 200 yds total — 120 yds navy (A), 80 yds cream (B)
- Hook: 5 mm (H-8) crochet hook
- Notions: Tapestry needle, scissors, stitch marker (optional, for marking the first stitch of each round)
- Finished size: 20 inches circumference, 8.5 inches height (fits head 20–22 inches)
Abbreviations
- ch — chain: make a loop of yarn and pull it through the loop on your hook.
- sc — single crochet: insert hook into stitch, yarn over, pull up a loop, yarn over, pull through both loops.
- sl st — slip stitch: insert hook into stitch, yarn over, pull through both the stitch and the loop on your hook.
- sc2tog — single crochet two stitches together: a decrease that turns two stitches into one.
- sk — skip: leave the stitch unworked.
- sts — stitches.
- Rnd — round: one complete circle of the hat.
- BLO — back loop only: work into the loop of the stitch farthest from you.
- A / B — Color A (navy) / Color B (cream).
Gauge
16 sts and 16 rows = 4 inches in single crochet. To check, crochet a small swatch in single crochet and measure a 4-inch section; if you have more stitches than 16, go up a hook size, and if you have fewer, go down.
Tips Before You Start
- Work the brim ribbing a little looser than you think you need — a tight brim will not stretch over the head comfortably.
- Change colors on the last yarn-over of the final stitch of a round so the new color starts cleanly at the join.
- Count your 80 body stitches after Round 1; every later round depends on that number staying consistent.
- Try the hat on before the crown decreases to confirm the ponytail opening sits where you want it.
Step-by-Step Instructions
The hat is worked in the round from brim to crown, then the top is closed flat. The brim is worked in ribbing, then the body in single crochet with stripes. The ponytail opening is created by leaving a gap in the last few rounds.
Brim (Color A)
Ch 9.
Row 1: Sc in 2nd ch from hook and each ch across (8 sts).
Row 2: Ch 1, turn, sc in back loop only of each st across (8 sts).
Rows 3–60: Repeat Row 2 until piece measures 20 inches, ending with a row (8 sts). Do not fasten off.
Join short ends with sl st to form a ring, being careful not to twist. Turn ring so the seam is inside.
Body
Rnd 1: Ch 1, work 80 sc evenly around brim edge (80 sts). Join with sl st to first sc.
Rnds 2–3: With A, ch 1, sc in each st around (80 sts). Join. Change to B.
Rnds 4–5: With B, ch 1, sc in each st around (80 sts). Join. Change to A.
Rnds 6–7: With A, ch 1, sc in each st around (80 sts). Join. Change to B.
Rnds 8–9: With B, ch 1, sc in each st around (80 sts). Join. Change to A.
Rnds 10–11: With A, ch 1, sc in each st around (80 sts). Join. Change to B.
Rnds 12–13: With B, ch 1, sc in each st around (80 sts). Join. Change to A.
Rnds 14–15: With A, ch 1, sc in each st around (80 sts). Join. Change to B.
Rnd 16: With B, ch 1, sc in each st around (80 sts). Join. Change to A.
Ponytail Opening
Rnd 17: With A, ch 1, sc in first 30 sts, ch 10, sk next 20 sts, sc in last 30 sts (70 sts + 10 ch). Join with sl st to first sc.
Rnd 18: Ch 1, sc in each st and each ch around (80 sts). Join. Change to B.
Rnd 19: With B, ch 1, sc in each st around (80 sts). Join. Change to A.
Rnd 20: With A, ch 1, sc in each st around (80 sts). Join. Do not fasten off.
Top Shaping
Rnd 21: Ch 1, [sc2tog, sc in next 6 sts] 10 times (70 sts). Join.
Rnd 22: Ch 1, [sc2tog, sc in next 5 sts] 10 times (60 sts). Join.
Rnd 23: Ch 1, [sc2tog, sc in next 4 sts] 10 times (50 sts). Join.
Rnd 24: Ch 1, [sc2tog, sc in next 3 sts] 10 times (40 sts). Join.
Rnd 25: Ch 1, [sc2tog, sc in next 2 sts] 10 times (30 sts). Join.
Rnd 26: Ch 1, [sc2tog, sc in next st] 10 times (20 sts). Join.
Rnd 27: Ch 1, [sc2tog] 10 times (10 sts). Join. Fasten off, leaving a long tail.
Edging Around Ponytail Opening
With A, join yarn at one side of the opening. Sc evenly around the entire opening (approx 30 sc). Join with sl st to first sc. Fasten off. Weave in ends.
Assembly and Finishing
Turn the hat inside out. Thread the long tail through the remaining 10 stitches and pull tight to close the top. Weave in all ends on the wrong side, working each end in a different direction so the fabric stays flat. Gently block the hat by misting it lightly and shaping it over a bowl or hat form to the finished measurements (20 inches circumference, 8.5 inches tall); let it dry completely before wearing.
Pro Tips and Variations
- For a wider ponytail opening, chain 12–14 instead of 10 and adjust the skipped stitches so the round still totals 80.
- Swap the two-round stripes for three-round stripes, or use a single solid color for a minimalist look.
- Add a contrasting cream edging around the ponytail opening for a crisp, finished detail.