Oatmeal Pebble Texture Crochet Hat Free Pattern
Introduction
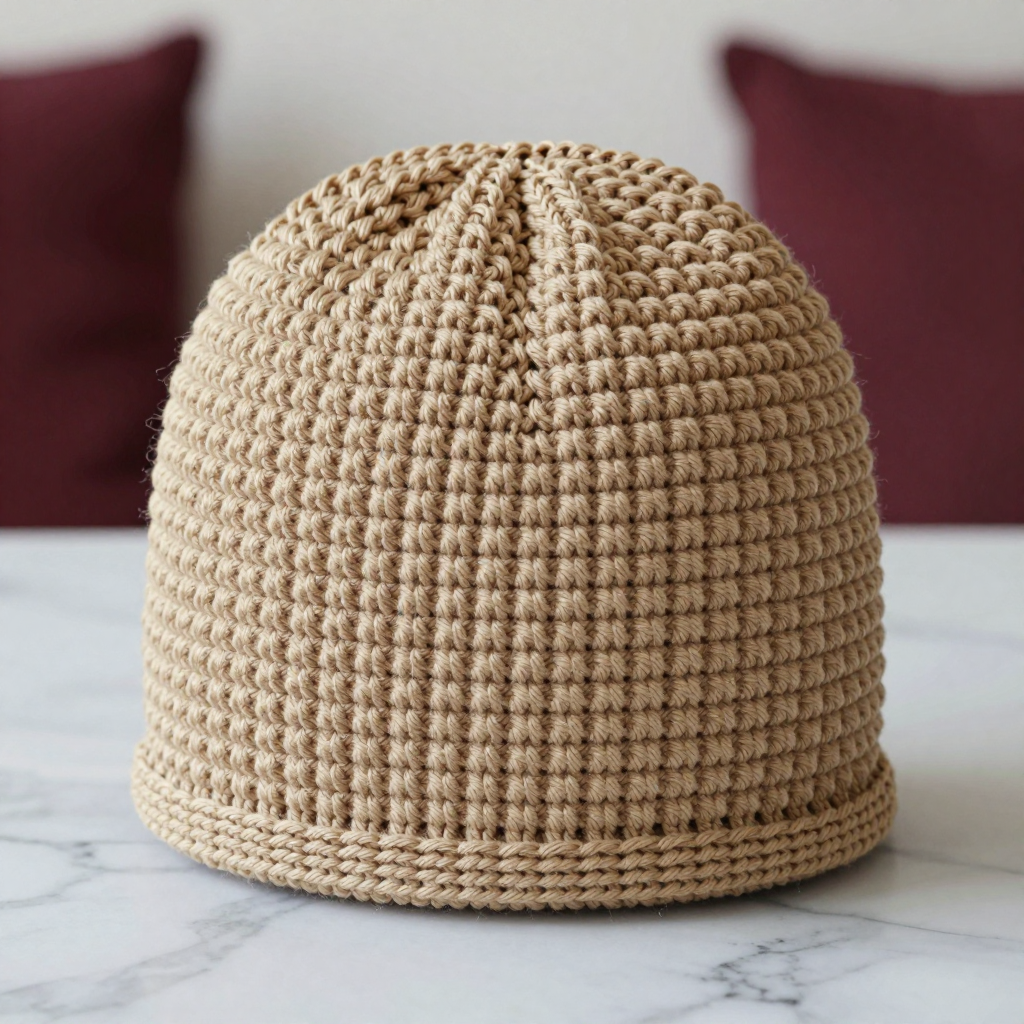
This Oatmeal Pebble Texture Hat is a cozy, unisex beanie that's perfect for beginners ready to try their first textured stitch. Worked seamlessly from the crown down in worsted weight yarn, it uses a simple two-round seed stitch that creates a soft, pebbled surface you'll love to touch. The oatmeal color keeps it neutral and wearable, while the rounded dome crown and narrow single-crochet brim give it a clean, classic shape. It's warm, squishy, and quick enough to make in an evening or two.
Materials Needed
- Yarn: Worsted weight (4) yarn, 100% acrylic or wool blend, oatmeal color, approximately 200 yards
- Hook: 5 mm (H/8) crochet hook
- Notions: Stitch marker, tapestry needle, scissors
- Finished size: Circumference 20 inches, height 8 inches (fits an average adult head)
Abbreviations
- ch – chain: make a loop of yarn and pull it through.
- sc – single crochet: insert hook, pull up a loop, yarn over, pull through both loops.
- dc – double crochet: yarn over, insert hook, pull up a loop, yarn over and pull through two loops, yarn over and pull through the last two loops.
- st(s) – stitch(es)
- rnd – round
- inc – increase: work 2 sc in the same stitch.
- [ ] – repeat the instructions inside the brackets the number of times stated.
Gauge
16 stitches and 16 rounds = 4 inches in seed stitch pattern. To check, crochet a small swatch in the seed stitch pattern and measure a 4-inch section; adjust your hook size if needed to match.
Tips Before You Start
- Use a stitch marker in the first stitch of each round so you never lose your place in continuous rounds.
- Keep your tension even—seed stitch looks best when the sc and dc stitches are similar in height and snugness.
- Don't join rounds unless the pattern says so; working continuously keeps the hat seamless.
- Count your stitches after each increase round to make sure you stay on track.
Step-by-Step Instructions
The hat is worked in continuous rounds. Do not join unless specified. Use a stitch marker to mark the beginning of each round.
Crown
Rnd 1: Make a magic ring, ch 1, 8 sc in ring (8 sts).
Rnd 2: 2 sc in each st around (16 sts).
Rnd 3: [Sc in next st, 2 sc in next st] around (24 sts).
Rnd 4: [Sc in next 2 sts, 2 sc in next st] around (32 sts).
Rnd 5: [Sc in next 3 sts, 2 sc in next st] around (40 sts).
Rnd 6: [Sc in next 4 sts, 2 sc in next st] around (48 sts).
Rnd 7: [Sc in next 5 sts, 2 sc in next st] around (56 sts).
Rnd 8: [Sc in next 6 sts, 2 sc in next st] around (64 sts).
Rnd 9: [Sc in next 7 sts, 2 sc in next st] around (72 sts).
Rnd 10: [Sc in next 8 sts, 2 sc in next st] around (80 sts).
Body (Seed Stitch Pattern)
Rnd 11: [Sc in next st, dc in next st] around (80 sts).
Rnd 12: [Dc in next st, sc in next st] around (80 sts).
Rnds 13–26: Repeat Rnds 11–12 seven times (80 sts). The piece should measure about 7 inches from the crown, ending after a Rnd 12.
Brim
Rnd 27: Sc in each st around (80 sts).
Rnd 28: Sc in each st around (80 sts). Fasten off.
Assembly and Finishing
This hat is seamless, so no seaming is needed. Weave in all ends with a tapestry needle, working them into the inside of the hat. Block lightly to measurements: mist with water, shape to a 20-inch circumference and 8-inch height, and let dry flat. Avoid stretching the brim.
Pro Tips and Variations
- Add a faux fur pom-pom to the crown for a playful finish.
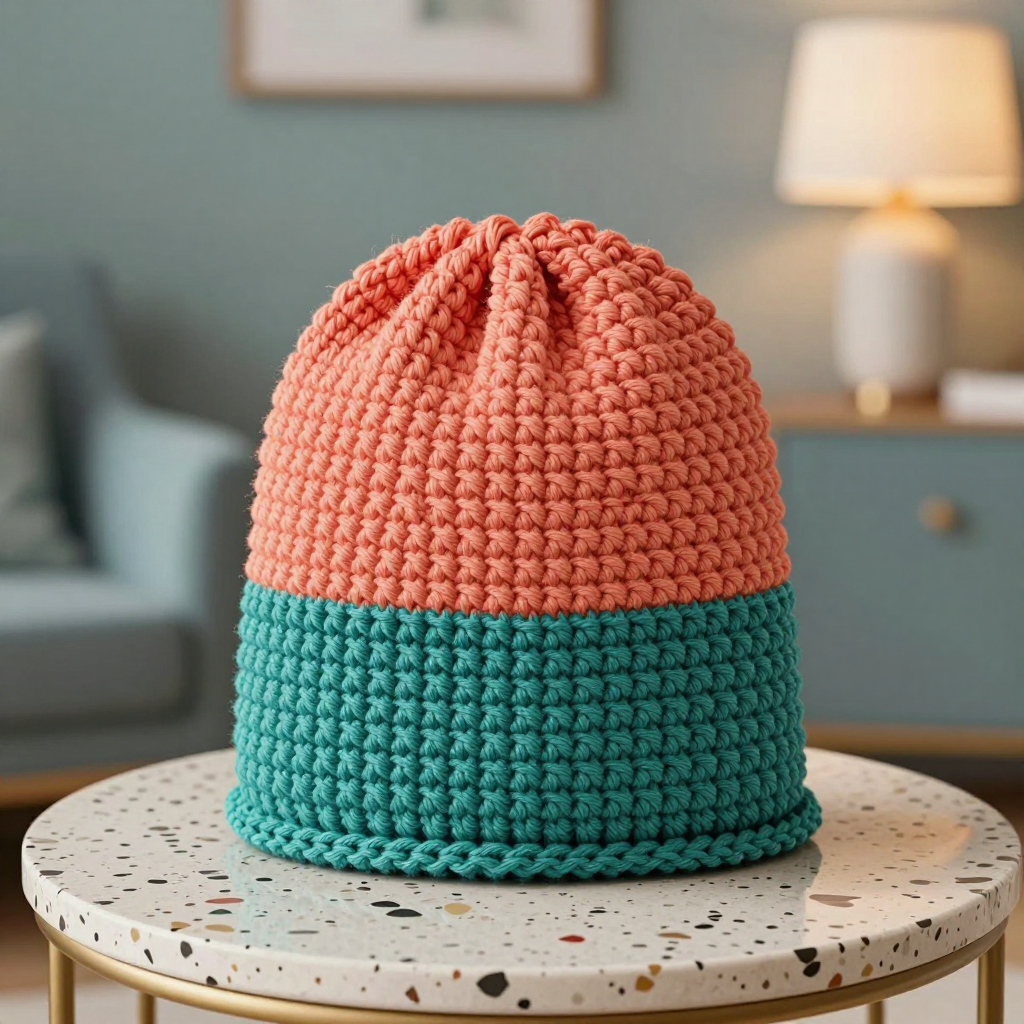
- Work the brim in a contrasting color for a subtle two-tone look.
- Use a slightly larger hook for a slouchier fit, or a smaller hook for a snug beanie.