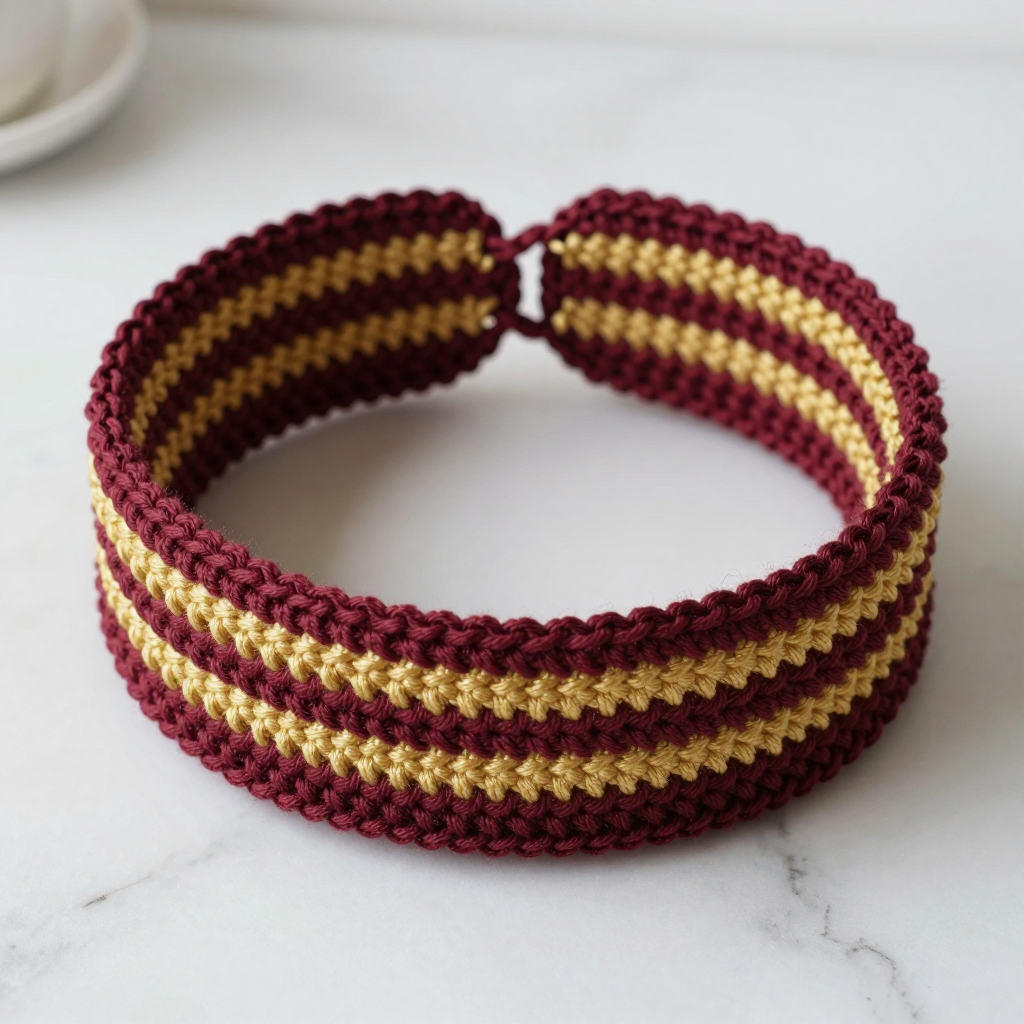
Toadstool Ripple Gift Bag Free Crochet Pattern

Toadstool Ripple Gift Bag Free Crochet Pattern
Introduction
This little Toadstool Ripple Gift Bag is the perfect way to wrap a small present in something handmade and charming. It is designed for beginners who are comfortable with single crochet and simple shaping, and it works up quickly in worsted weight yarn. The flat ripple-textured body folds into a sweet pouch, while the rounded mushroom-cap flap, cream edging, and little dots give it a cottagecore feel. Soft, sturdy, and about 4.5 inches wide by 5 inches tall, it is a lovely little wrap for jewelry, candies, or a tiny treasure.
Materials Needed
- Yarn: Worsted weight (4) acrylic or cotton; 120 yd dusty red (A), 40 yd cream (B), 10 yd dark brown (C).
- Hook: 4 mm (G-6).
- Notions: Tapestry needle, stitch marker (optional), one small button, scissors.
- Finished size: Approx. 4.5 inches wide x 5 inches tall (excluding flap).
Abbreviations
- ch: chain
- sc: single crochet
- sc2tog: single crochet 2 stitches together (decrease)
- sc3tog: single crochet 3 stitches together (decrease)
- sl st: slip stitch
- MR: magic ring
- sts: stitches
Gauge
16 sts and 16 rows = 4 inches in ripple pattern. Check your gauge by crocheting a small swatch in the ripple pattern and measuring a 4-inch section before starting the bag.
Tips Before You Start
- Keep your ripple row consistent: the 3-sc increase and sc3tog decrease should balance so each row stays at 18 stitches.
- Use a stitch marker at the beginning of each flap row so you do not lose track of the turning chain.
- Work the flap edging evenly; place 2 sc in each corner to keep the mushroom cap rounded and flat.
- Sew the dots and button after blocking so their placement stays neat and centered.
Step-by-Step Instructions
Bag Body (A)
Ch 19.
R1: sc in 2nd ch from hook, sc in each ch across (18 sts).
R2: ch 1, turn, sc in each st across (18 sts).
R3: ch 1, turn, [sc in next 2 sts, 3 sc in next st, sc in next 2 sts, sc3tog] 3 times (18 sts).
R4–20: repeat R3 (18 sts).
Fasten off.
Seaming the Bag Body
Fold the rectangle in half with right sides together, matching the short ends. Seam both sides with sc or whipstitch, leaving the top open. Turn right side out.
Flap (A)
Join A at the top right corner of the bag.
R1: ch 1, sc evenly across top edge (18 sts).
R2: ch 1, turn, sc in each st across (18 sts).
R3: ch 1, turn, sc2tog, sc in next 14 sts, sc2tog (16 sts).
R4: ch 1, turn, sc2tog, sc in next 12 sts, sc2tog (14 sts).
R5: ch 1, turn, sc2tog, sc in next 10 sts, sc2tog (12 sts).
R6: ch 1, turn, sc2tog, sc in next 8 sts, sc2tog (10 sts).
R7: ch 1, turn, sc2tog, sc in next 6 sts, sc2tog (8 sts).
R8: ch 1, turn, sc2tog, sc in next 4 sts, sc2tog (6 sts).
R9: ch 1, turn, sc2tog, sc in next 2 sts, sc2tog (4 sts).
R10: ch 1, turn, sc2tog twice (2 sts).
R11: ch 1, turn, sc2tog (1 st).
Fasten off.
Edging (B)
Join B at the bottom right corner of the flap. Sc evenly around the entire flap edge, working 2 sc in each corner. Fasten off.
Dots (B) — Make 5
Rnd 1: MR, 6 sc, join (6 sts).
Fasten off, leaving a long tail for sewing. Sew the dots evenly spaced on the flap.
Button Loop (B)
Join B at the center top of the bag back. Ch 8, sl st to form a loop. Fasten off.
Button (C)
Sew the button on the flap center, opposite the loop.
Assembly and Finishing
Weave in all ends carefully, using the tapestry needle to hide them inside the bag body and flap. Check that the flap sits evenly over the bag opening and that the button loop aligns with the button. Block lightly by misting with water and shaping the bag and flap flat; let dry completely. Do not over-stretch the ripple texture.
Pro Tips and Variations
- Use a contrasting color for the dots, such as soft pink or pale yellow, for a different cottagecore look.
- Add a small fabric lining inside the bag for extra structure and to keep small gifts secure.
- Make a longer button loop or use a larger button if you plan to fill the bag more fully.