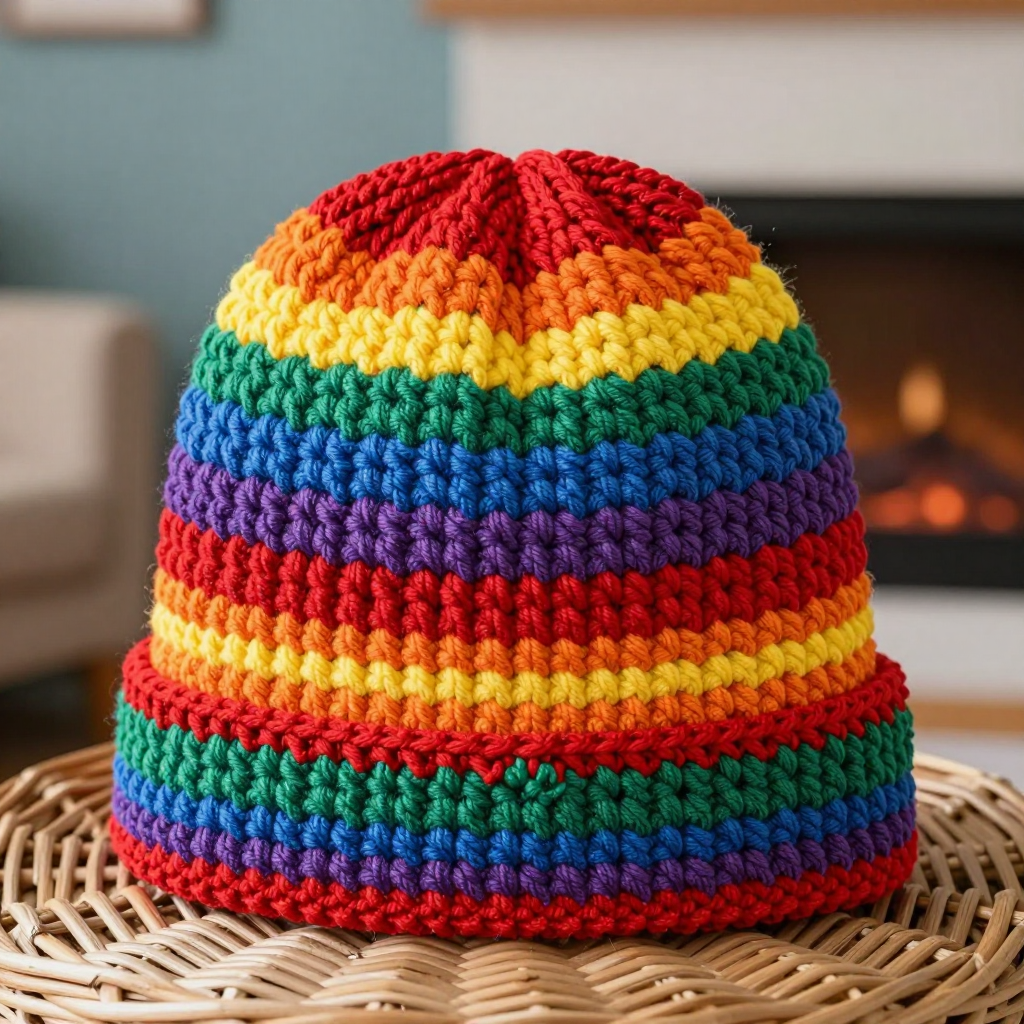
Watermelon Slice Bucket Hat Free Crochet Pattern

Introduction
This Watermelon Slice Bucket Hat is a cheerful, beginner-friendly project that turns simple single crochet rounds into a slice of summer you can wear. It's perfect for anyone who has just learned to crochet in the round and wants a finished accessory that looks far more advanced than the stitches involved. The hat is worked in bold horizontal blocks of green, cream, and pink, with a flared green brim and a handful of embroidered black seeds on the front for that unmistakable watermelon look. It feels soft and breathable in cotton, sits comfortably at 22 inches around, and works up quickly enough to make one for yourself and one for a friend.
Materials Needed
- Yarn: Worsted weight (category 4) cotton yarn — 100 yd green (A), 50 yd cream (B), 50 yd pink (C), and a small amount of black (D) for embroidery.
- Hook: 5.5 mm (I-9) crochet hook.
- Notions: Stitch marker, tapestry needle, scissors, and a measuring tape.
- Finished size: Circumference 22 inches, height 7 inches (crown 4 inches, band 2 inches, brim 1 inch).
Abbreviations
- MR — magic ring: an adjustable loop used to start working in the round.
- sc — single crochet: insert hook, pull up a loop, yarn over, pull through both loops.
- inc — increase: work 2 single crochet stitches into the same stitch.
- sl st — slip stitch: insert hook, yarn over, pull through all loops on the hook.
- st(s) — stitch(es).
- rnd(s) — round(s).
- [ ] x6 — repeat the instructions inside the brackets six times.
Gauge
14 single crochet stitches and 16 rounds = 4 inches. Work a small swatch in single crochet rounds and measure it flat; if you have more stitches than 14 in 4 inches, go up a hook size, and if you have fewer, go down.
Tips Before You Start
- Use a stitch marker in the first stitch of each round — this hat is worked in continuous rounds, so the beginning of the round spirals and is easy to lose.
- Keep your tension relaxed and even; tight single crochet will make the crown too small and the brim stiff.
- Change colors on the last yarn-over of the final stitch of the round so the color joins cleanly.
- Embroider the seeds last, after the hat is finished, so you can place them exactly where you want them on the front.
Step-by-Step Instructions
Crown (Green — A)
Rnd 1: MR, 6 sc into the ring (6 sts).
Rnd 2: inc in each st around (12 sts).
Rnd 3: [sc, inc] x6 (18 sts).
Rnd 4: [2 sc, inc] x6 (24 sts).
Rnd 5: [3 sc, inc] x6 (30 sts).
Rnd 6: [4 sc, inc] x6 (36 sts).
Rnd 7: [5 sc, inc] x6 (42 sts).
Rnd 8: [6 sc, inc] x6 (48 sts).
Rnd 9: [7 sc, inc] x6 (54 sts).
Rnd 10: [8 sc, inc] x6 (60 sts).
Rnd 11: [9 sc, inc] x6 (66 sts).
Rnd 12: [10 sc, inc] x6 (72 sts).
Rnd 13: [11 sc, inc] x6 (78 sts).
Rnd 14: [12 sc, inc] x6 (84 sts).
Rnd 15: [13 sc, inc] x6 (90 sts).
Rnd 16: [14 sc, inc] x6 (96 sts).
Rnd 17: sc in each st around (96 sts). Change to cream (B).
Cream Section (B)
Rnds 18–23: sc in each st around (96 sts). Change to pink (C).
Pink Section (C)
Rnds 24–29: sc in each st around (96 sts).
Band (Pink — C)
Rnds 30–35: sc in each st around (96 sts). Change to green (A).
Brim (Green — A)
Rnd 36: [sc, inc] x48 (144 sts).
Rnd 37: sc in each st around (144 sts).
Rnd 38: [2 sc, inc] x48 (192 sts).
Rnd 39: sc in each st around (192 sts).
Rnd 40: [3 sc, inc] x48 (240 sts).
Rnd 41: sc in each st around (240 sts). Fasten off.
Edging (Green — A)
Rnd 42: Join A to any stitch on the brim edge, sc evenly around the entire brim edge, sl st to join. Fasten off.
Seeds (Black — D)
With black yarn, embroider 5–7 straight stitches randomly across the front pink section (Rnds 24–29), using the photo as a guide.
Assembly and Finishing
There is no seaming required — this hat is worked in one continuous piece. Weave in all ends on the inside of the hat, taking care to secure the color-change tails so they don't work loose with wear. Block the hat by misting it lightly with water and shaping it over a bowl or hat form to the finished measurements (22 inches around, 7 inches tall), then let it dry completely so the crown stays flat and the brim holds its flare.
Pro Tips and Variations
- Swap the cream section for white or pale yellow to change the look of the "rind" while keeping the same watermelon feel.
- Add a second row of seeds or scatter them across the whole pink band for a bolder, more playful finish.
- Work the brim in a contrasting color or add a round of reverse single crochet for a crisper, more structured edge.