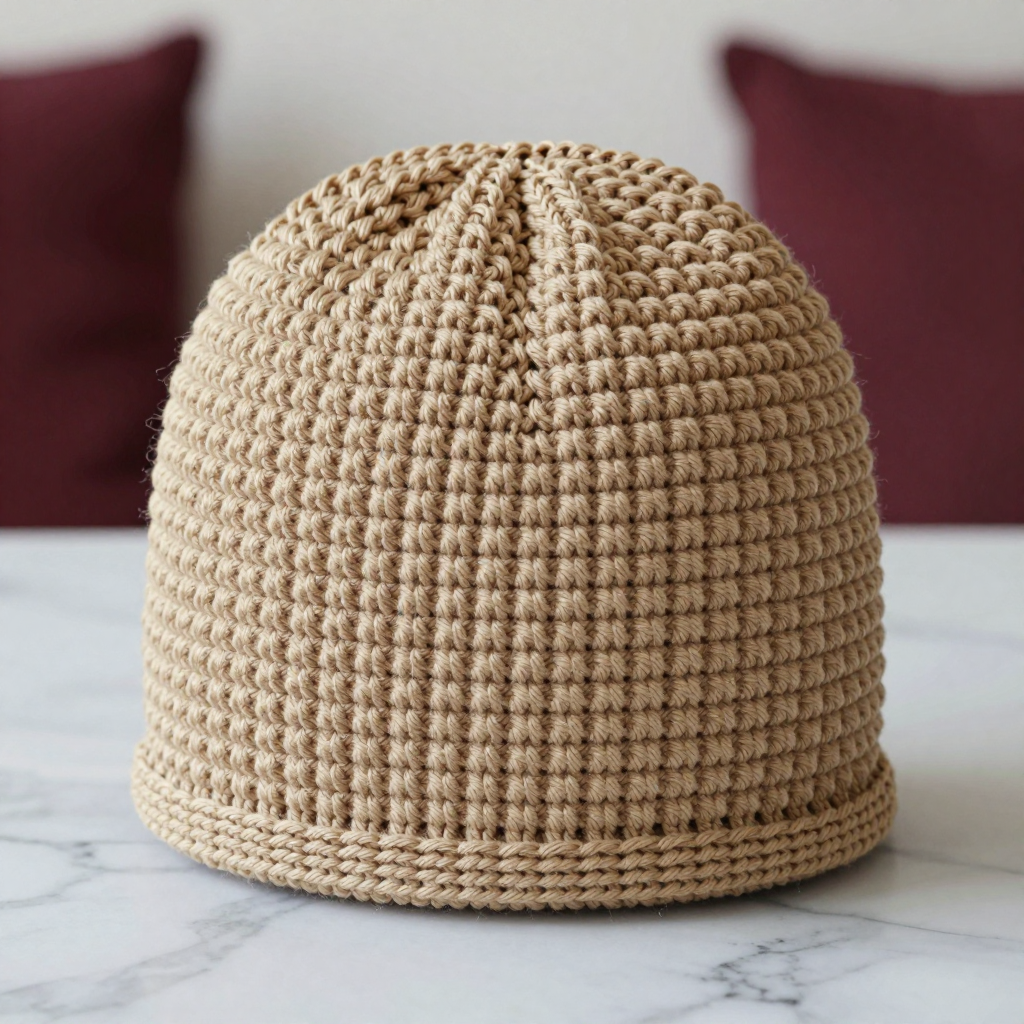
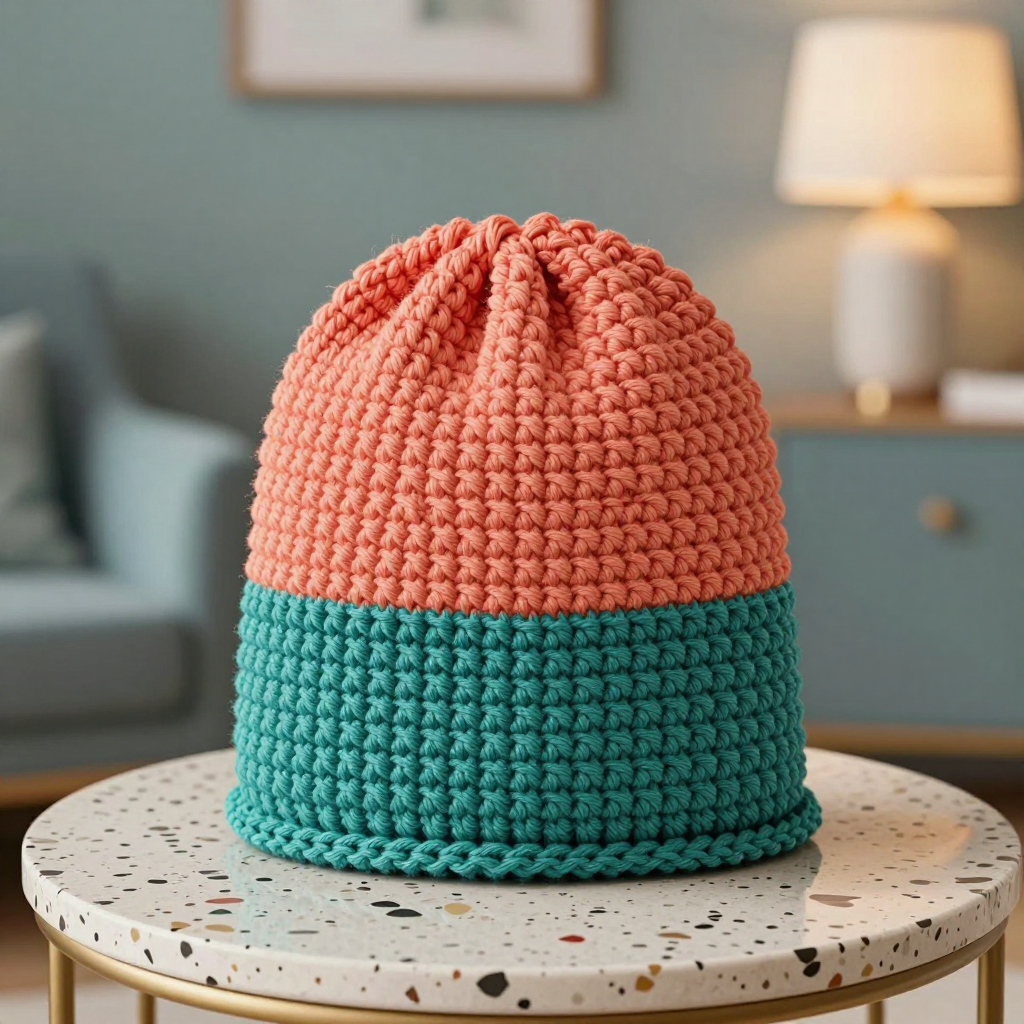
Mid-Century Modern Bucket Hat Free Crochet Pattern

Introduction
This mid-century modern bucket hat is the perfect project for anyone who has just learned single crochet and wants to make something they will actually wear. Worked in continuous rounds from a magic ring, it uses only single crochet and simple increases, so there is nothing to memorize and no seams to sew. The bold cherry red and pink stripes give it that retro Mod look, while the straight cylindrical crown and wide flat brim keep it clean and modern. It works up quickly in worsted weight yarn, feels soft and lightweight on the head, and is a great unisex hat for sunny days or a fun pop of color any time of year.
Materials Needed
- Yarn: Worsted weight (category 4) acrylic or cotton yarn in two colors: 120 yards cherry red (A) and 80 yards pink (B).
- Hook: 5.0 mm (H/8) crochet hook.
- Notions: Stitch marker, tapestry needle, scissors, and a tape measure.
- Finished size: Fits head circumference 21–23 inches; crown height 6 inches; brim diameter 12 inches.
Abbreviations
- MR: magic ring — an adjustable loop you crochet into to start a round with no hole.
- sc: single crochet — insert hook, pull up a loop, yarn over, pull through both loops.
- inc: increase — work 2 single crochet into the same stitch to add one stitch.
- sl st: slip stitch — insert hook, yarn over, pull through everything on the hook.
- st(s): stitch(es).
- rnd(s): round(s).
- [ ] x6: repeat the instructions inside the brackets six times.
Gauge
16 single crochet stitches and 16 rounds = 4 inches. To check, crochet a small flat swatch in single crochet and measure a 4-inch section; if you have more stitches than 16, go up a hook size, and if you have fewer, go down a size.
Tips Before You Start
- Use a stitch marker in the first stitch of each round. Because you work in continuous rounds, the marker is the only way to keep your place.
- Count your stitches at the end of every increase round. Each increase round should add exactly 6 stitches, which keeps the crown and brim perfectly flat.
- Change colors in the last stitch of the round before the new color begins, so the color change sits neatly at the back of the hat.
- Keep your tension relaxed and even. Tight single crochet makes a stiff crown that will not stretch to fit comfortably.
Step-by-Step Instructions
Crown (Color A)
Rnd 1: MR, 6 sc into the ring (6 sts).
Rnd 2: inc in each st around (12 sts).
Rnd 3: [sc, inc] x6 (18 sts).
Rnd 4: [2 sc, inc] x6 (24 sts).
Rnd 5: [3 sc, inc] x6 (30 sts).
Rnd 6: [4 sc, inc] x6 (36 sts).
Rnd 7: [5 sc, inc] x6 (42 sts).
Rnd 8: [6 sc, inc] x6 (48 sts).
Rnd 9: [7 sc, inc] x6 (54 sts).
Rnd 10: [8 sc, inc] x6 (60 sts).
Rnd 11: [9 sc, inc] x6 (66 sts).
Rnd 12: [10 sc, inc] x6 (72 sts).
Rnds 13–16: sc in each st around (72 sts).
Change to Color B.
Rnds 17–20: sc in each st around (72 sts).
Change to Color A.
Rnds 21–24: sc in each st around (72 sts).
Change to Color B.
Rnds 25–28: sc in each st around (72 sts).
Change to Color A.
Rnds 29–32: sc in each st around (72 sts).
Change to Color B.
Rnds 33–36: sc in each st around (72 sts).
Change to Color A.
Rnds 37–40: sc in each st around (72 sts). Do not fasten off.
Brim (continuing in Color A)
Rnd 41: [11 sc, inc] x6 (78 sts).
Rnd 42: [12 sc, inc] x6 (84 sts).
Rnd 43: [13 sc, inc] x6 (90 sts).
Rnd 44: [14 sc, inc] x6 (96 sts).
Rnd 45: [15 sc, inc] x6 (102 sts).
Rnd 46: [16 sc, inc] x6 (108 sts).
Rnd 47: [17 sc, inc] x6 (114 sts).
Rnd 48: [18 sc, inc] x6 (120 sts).
Rnd 49: [19 sc, inc] x6 (126 sts).
Rnd 50: [20 sc, inc] x6 (132 sts).
Rnd 51: [21 sc, inc] x6 (138 sts).
Rnd 52: [22 sc, inc] x6 (144 sts).
Rnds 53–54: sc in each st around (144 sts).
Change to Color B.
Rnd 55: sc in each st around (144 sts). Fasten off.
Edging (Color B)
Rnd 1: Join B with a sl st in any st of Rnd 55, sc evenly around the brim edge, sl st to join. Fasten off.
Assembly and Finishing
There is no seaming to do — this hat is worked in one continuous piece from the crown top through the brim. Weave in all yarn ends on the inside of the hat with your tapestry needle, working each end in a different direction so it stays secure. Block the hat by misting it lightly with water and shaping the crown over a bowl or hat form, then smoothing the brim flat; let it dry completely. This sets the round shape and gives the brim a crisp, even edge.
Pro Tips and Variations
- Swap the stripes for a single solid color, or use three colors in a repeating sequence for a different retro palette.
- Add a round of crab stitch (reverse single crochet) in Color B instead of plain single crochet for a slightly raised, finished brim edge.
- For a smaller child-size hat, stop the crown increases at Rnd 10 (60 sts) and work the straight rounds to the same height, then add fewer brim increase rounds.