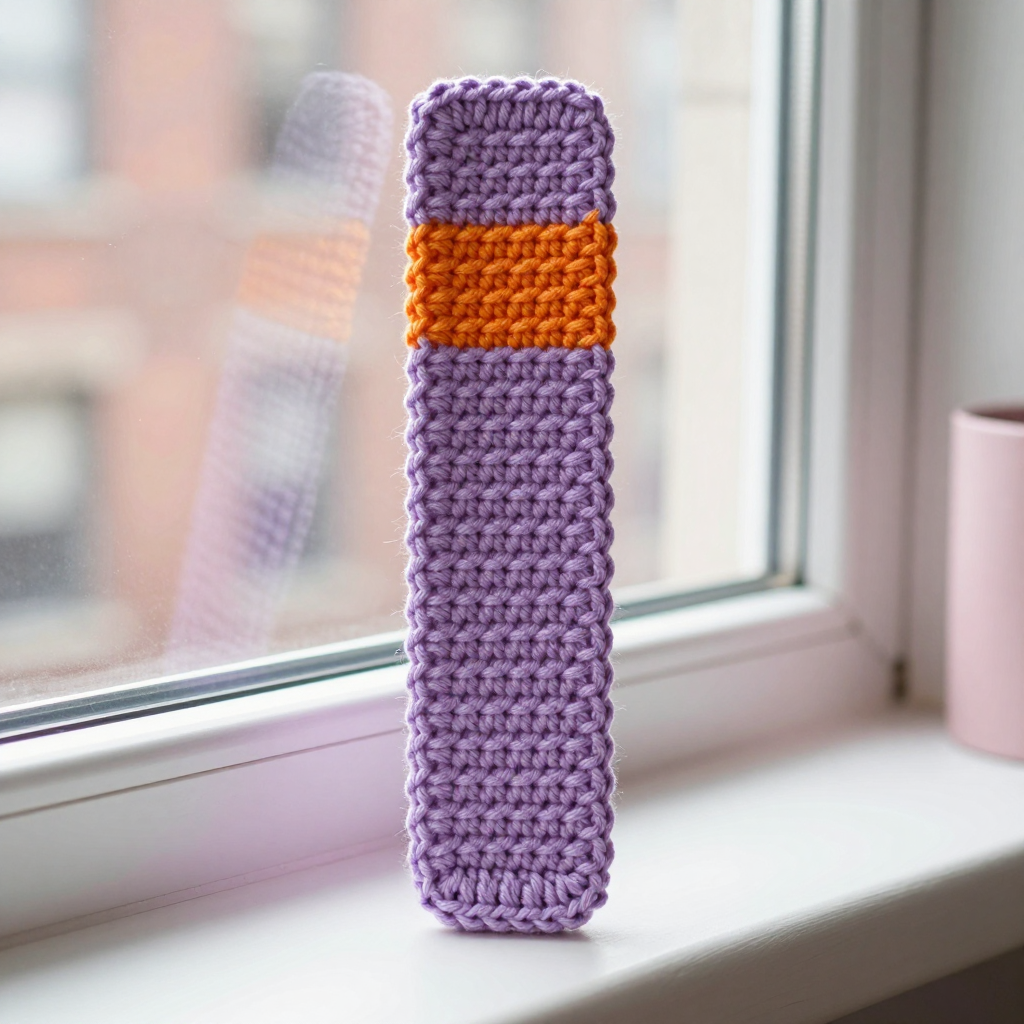
Prairie Sunset Phone Pouch Free Crochet Pattern
Introduction
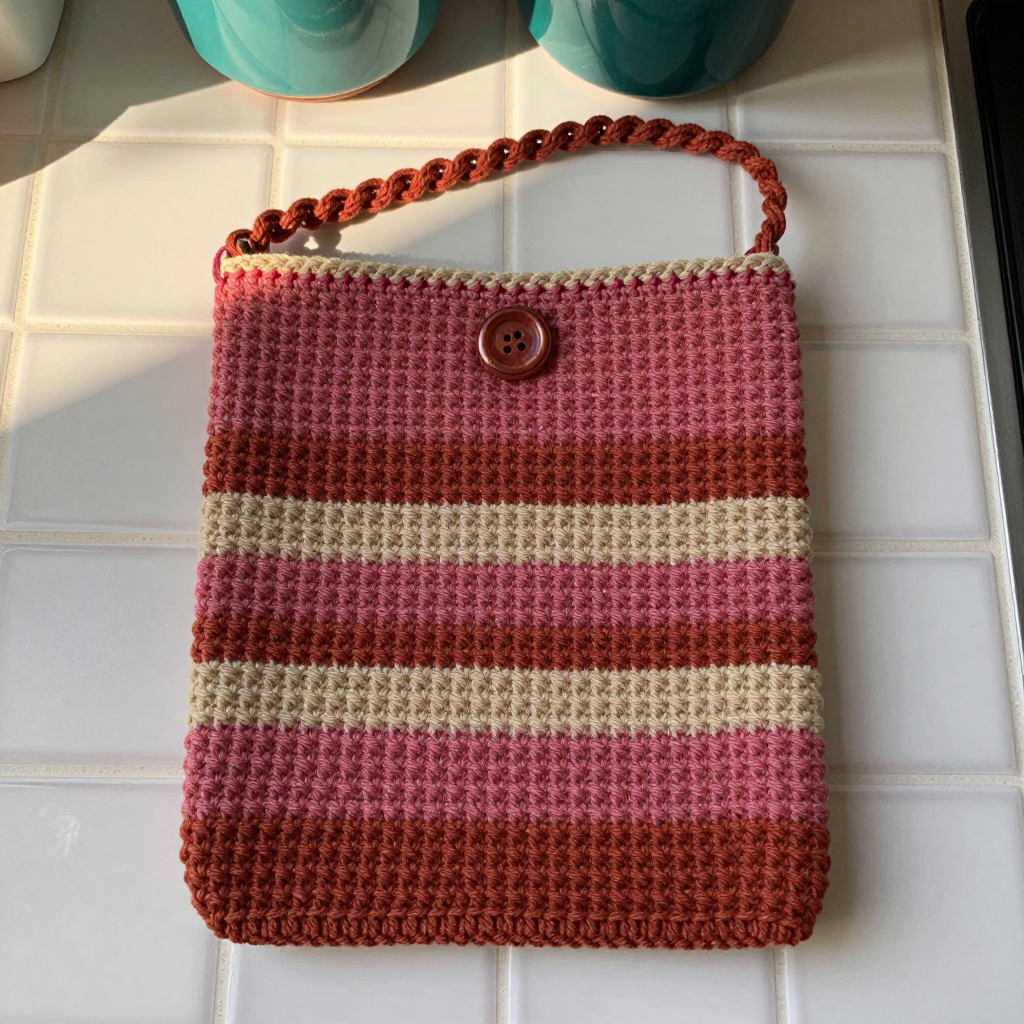
This Prairie Sunset Phone Pouch is a sweet little project for anyone who has just learned single crochet and wants to make something they will actually use. It is worked as one flat rectangle, folded in half and seamed up the sides, so there is no shaping, no working in the round, and no complicated counting. The bold six-row stripes in dusty rose, terracotta, and sand call to mind a western sky at dusk, and the dense single crochet fabric feels sturdy and slightly ridged in the hand, perfect for protecting a phone. A simple crocheted loop and a small button finish it off, making it a quick weekend make or a lovely handmade gift.
Materials Needed
- Yarn: Fine (2) weight cotton yarn, approximately 50 yds each of dusty rose (A), terracotta (B), and sand (C).
- Hooks: 4 mm (G) hook for the pouch body, and 2.75 mm (C) hook for the button loop and optional edging.
- Notions: Tapestry needle for seaming and weaving in ends, one 0.5 inch (1.25 cm) button, scissors.
- Finished size: Approximately 3.5 inches wide x 6.5 inches tall (9 cm x 16.5 cm), fitting most smartphones.
Abbreviations
- ch — chain: make a loop of yarn and pull it through the loop on your hook.
- sc — single crochet: insert hook into stitch, yarn over, pull up a loop, yarn over, pull through both loops.
- sl st — slip stitch: insert hook into stitch, yarn over, pull through both the stitch and the loop on your hook.
- st(s) — stitch(es).
- A, B, C — the three yarn colors (A = dusty rose, B = terracotta, C = sand).
Gauge
22 stitches and 24 rows = 4 inches (10 cm) in single crochet with the 4 mm hook. To check, crochet a small swatch in single crochet and measure a 4-inch section; if you have more stitches than 22, try a larger hook, and if you have fewer, try a smaller one.
Tips Before You Start
- Change colors on the last yarn-over of the final stitch of a stripe so the new color begins cleanly on the next row.
- Keep your turning chains loose but consistent; a tight chain makes the side edges pull in.
- Count your 19 stitches at the end of every row until the rhythm feels automatic — it is the easiest way to catch a missed stitch early.
- Leave a generous tail (about 18 inches) when you fasten off the body, since you will use it to whipstitch the side seams.
Step-by-Step Instructions
Pouch Body (worked flat in one piece)
With the 4 mm hook and color A, ch 20.
Row 1: sc in 2nd ch from hook and each ch across (19 sc).
Rows 2-6: ch 1, turn, sc in each st across (19 sc). Change to B.
Rows 7-12: ch 1, turn, sc in each st across (19 sc). Change to C.
Rows 13-18: ch 1, turn, sc in each st across (19 sc). Change to A.
Rows 19-24: ch 1, turn, sc in each st across (19 sc). Change to B.
Rows 25-30: ch 1, turn, sc in each st across (19 sc). Change to C.
Rows 31-36: ch 1, turn, sc in each st across (19 sc). Change to A.
Rows 37-42: ch 1, turn, sc in each st across (19 sc).
Fasten off, leaving a long tail for seaming.
Button Loop
With the 2.75 mm hook and color B, join yarn at the center top edge (approximately the 9th stitch from the side).
Loop: ch 10, sl st in the same st to form a loop. Fasten off. Weave in ends.
Edging (optional)
With the 2.75 mm hook and color C, join yarn at the top edge. Sc evenly around the top opening. Fasten off. Weave in ends.
Assembly and Finishing
Fold the rectangle in half with right sides together, aligning the bottom edges. Using the long tail and a tapestry needle, whipstitch both side seams. Turn the pouch right side out. Sew the 0.5 inch button to the front center, directly opposite the loop. Weave in all remaining ends. Lightly steam or wet-block the pouch and shape it flat while it dries so the seams lie smooth and the stripes sit straight.
Pro Tips and Variations
- Swap the stripe colors for any three shades you love — a monochrome gradient looks just as striking.
- Add a long chain strap at the top corners to wear the pouch crossbody.
- Work the edging in a contrasting color, or add a second sc round for a slightly sturdier, more finished opening.