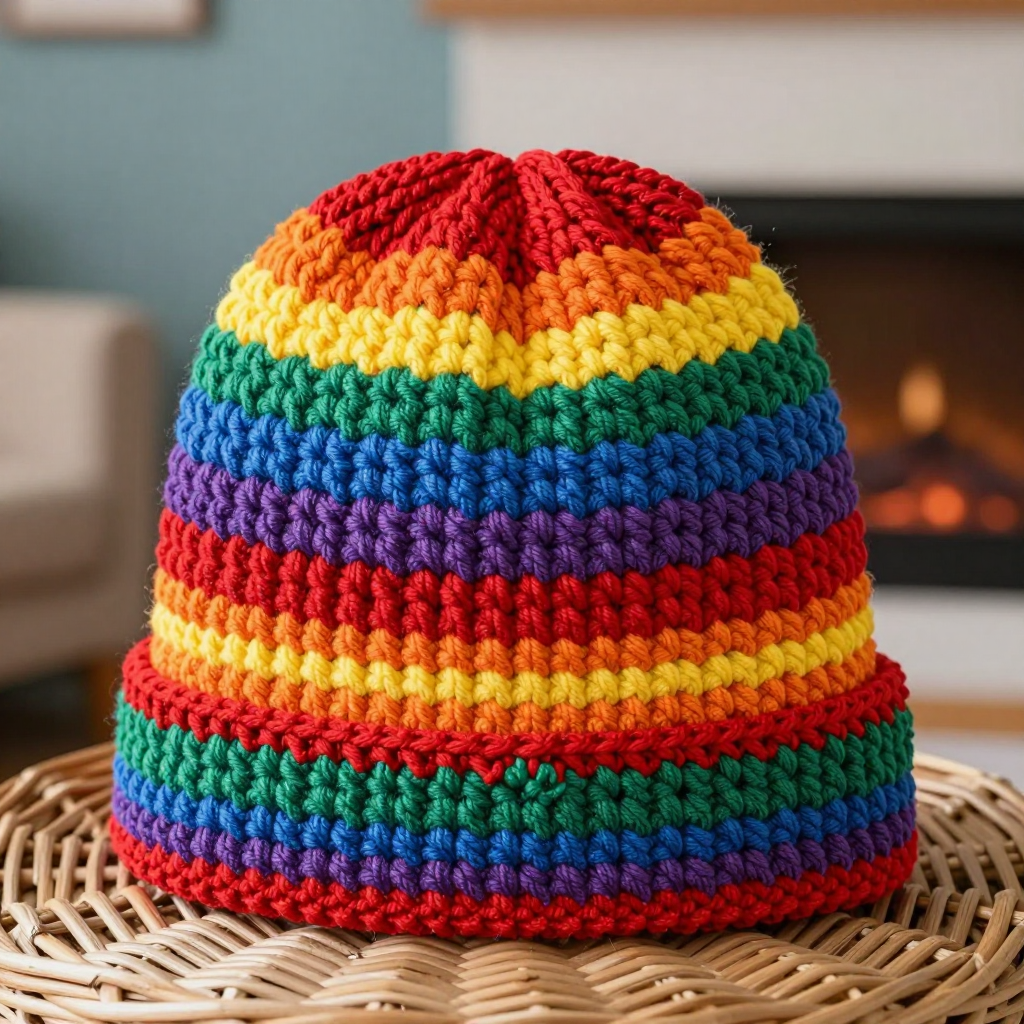
Two-Tone Brimmed Cloche: Free Crochet Pattern

Introduction
This two-tone brimmed cloche is the perfect first hat for anyone who has mastered single crochet and wants a project that looks far more advanced than it is. Worked entirely in single crochet, the mustard crown grows from a flat center ring into a smooth dome, while a terracotta brim flares out at the bottom for that classic 1920s silhouette. A simple mustard seam band joins the two sections and gives the hat a crisp, finished look, and a terracotta edging frames the brim. The result is soft, lightweight, and just structured enough to hold its shape, with a coastal-grandmother charm that works with everything from a linen dress to a chunky cardigan. If you can single crochet and increase, you can make this hat.
Materials Needed
- Yarn: DK weight (3) yarn, approximately 150 yards total. 100 yards mustard (Color A) and 50 yards terracotta (Color B). The sample uses a cotton-acrylic blend.
- Hook: 3.5 mm (US E/4) crochet hook
- Notions: Stitch marker, tapestry needle, measuring tape, scissors
- Finished size: 21 inches circumference (unstretched) and 8 inches tall including the brim
Abbreviations
- st / sts: stitch / stitches
- sc: single crochet — insert hook into stitch, yarn over, pull up a loop, yarn over, pull through both loops
- inc: increase — work 2 single crochet into the same stitch
- MR: magic ring — an adjustable loop used to start the hat
- R / Rnd: round
- [ ] x6: repeat the instructions inside the brackets six times
Gauge
20 stitches and 20 rounds = 4 inches in single crochet. Work a small swatch in the round and measure it flat; if you have more stitches than 20 in 4 inches, go up a hook size, and if you have fewer, go down.
Tips Before You Start
- Place a stitch marker in the first stitch of each round so you never lose your place — single crochet in the round spirals quickly.
- Keep your tension relaxed on the crown increases; tight increases make the flat top pucker instead of lying smooth.
- Count your stitches at the end of every increase round. The crown must reach exactly 108 stitches before you begin the straight sides.
- When you join Color B for the brim, work over the yarn tail for a few stitches so there is less to weave in later.
Step-by-Step Instructions
Crown (Color A)
Rnd 1: MR, 6 sc into the ring (6 sts).
Rnd 2: inc in each st around (12 sts).
Rnd 3: [sc, inc] x6 (18 sts).
Rnd 4: [2 sc, inc] x6 (24 sts).
Rnd 5: [3 sc, inc] x6 (30 sts).
Rnd 6: [4 sc, inc] x6 (36 sts).
Rnd 7: [5 sc, inc] x6 (42 sts).
Rnd 8: [6 sc, inc] x6 (48 sts).
Rnd 9: [7 sc, inc] x6 (54 sts).
Rnd 10: [8 sc, inc] x6 (60 sts).
Rnd 11: [9 sc, inc] x6 (66 sts).
Rnd 12: [10 sc, inc] x6 (72 sts).
Rnd 13: [11 sc, inc] x6 (78 sts).
Rnd 14: [12 sc, inc] x6 (84 sts).
Rnd 15: [13 sc, inc] x6 (90 sts).
Rnd 16: [14 sc, inc] x6 (96 sts).
Rnd 17: [15 sc, inc] x6 (102 sts).
Rnd 18: [16 sc, inc] x6 (108 sts).
Rnds 19-30: sc in each st around (108 sts). Fasten off.
Brim (Color B)
Rnd 31: Join B to any st of Rnd 30, sc in each st around (108 sts).
Rnd 32: [sc, inc] x54 (162 sts).
Rnds 33-38: sc in each st around (162 sts). Fasten off.
Seam (Color A)
Seam round: With A, sc in each st of Rnd 31, joining the brim to the crown and creating a visible mustard band at the junction (108 sts). Fasten off.
Edging (Color B)
Edging round: With B, sc in each st around the outer brim edge (162 sts). Fasten off.
Assembly and Finishing
This hat is worked in one piece, so there is no seaming to do — the mustard seam round is the only joining step and is already complete. Weave in all ends on the wrong side, running each tail through several stitches in two directions so it stays secure. Block the hat by misting it lightly and smoothing the crown over a round bowl or hat form slightly smaller than the finished circumference; let it dry fully. This sets the flat top and gives the brim a gentle, even flare.
Pro Tips and Variations
- Swap the colors: Try cream for the crown and dusty blue for the brim, or work the seam in the brim color for a subtler, tonal look.
- Add a little structure: Work the last brim round in the back loop only, or slip a length of hat wire or a rolled strip of buckram into the edging for a brim that holds its shape.
- Make it slouchy: Add 4-6 extra straight rounds to the crown section before starting the brim for a looser, slouchier fit.